How to download and install PostgreSQL on Windows
Downloading, installation and configuration of POSTGRESQL
Table of contents
No headings in the article.
In this short article, I will be taking you on the process of downloading Postgres, installation and configure on windows. PostgreSQL is a powerful, open source object-relational database system that uses and extends the SQL language combined with many features that safely store and scale the most complicated data workloads. The origins of PostgreSQL date back to 1986 as part of the POSTGRES project at the University of California at Berkeley and has more than 30 years of active development on the core platform. We can install PostgreSQL on the following operating systems:
Windows Linux Mac OS Server Free BSD and Open BSD
In this article, we are going to focus on the step-by-step installation process of PostgreSQL on windows 10. Before installation, we must download a safe copy of the software from enterprisedb.com/downloads/postgres-postgre.. We can use this installer to install PostgreSQL on windows in graphical and silent mode. The setup file contains the following software packages:
PostgreSQL 13 server
pgAdmin: It is a graphical tool to develop and manage the PostgreSQL server and database Stack builder: It is a package manager that contains additional tools that are used for management, migration, replication, connectors, and other tools
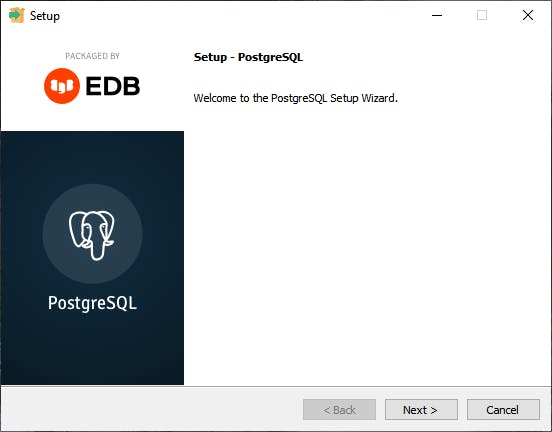
Once installation is over, double click on it the file. The installation wizard of PostgreSQL on Windows has begun. The first screen is the Welcome screen of the PostgreSQL installation.
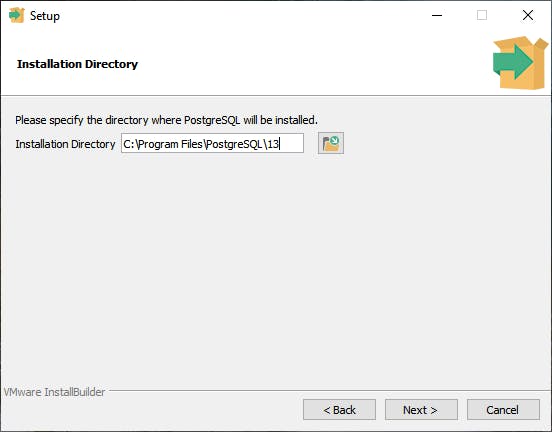
On the Installation directory screen, specify the location where you want to install the PostgreSQL.
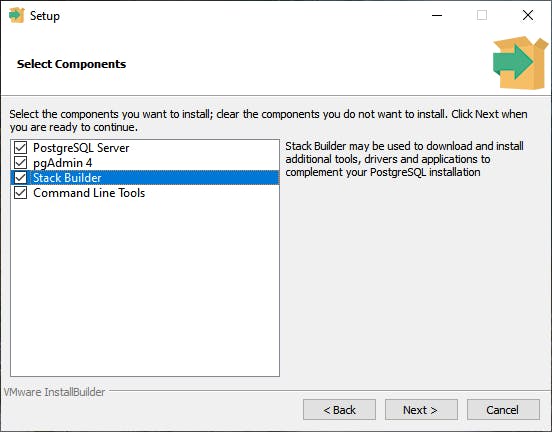
On the Select component screen, choose the component that you want to install on your workstation. You can choose any of the following: PostgreSQL Server pgAdmin4: It is a graphical interface that is used to manage the PostgreSQL database Stack builder: The stack builder will be used to download and install drivers and additional tools Command-line tools. The command-line tools and client libraries like pg_bench, pg_restore, pg_basebackup, libpq, pg_dump, and pg_restore will be installed In our case, we will install all components.
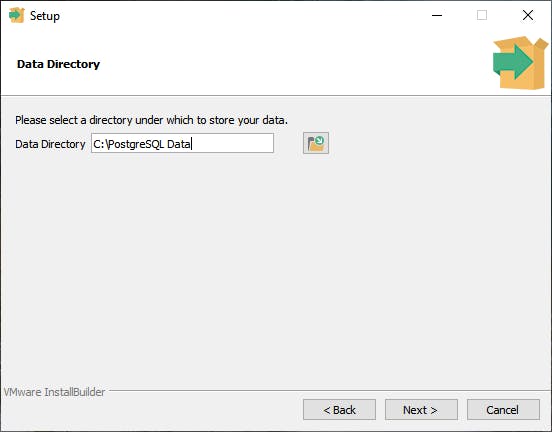
On the Data Directory screen, specify the directory where you want to store the database files. In our case, the data directory is C:\PostgreSQL Data.
 On the Password screen, specify the database superuser password. This password will be used to connect to the PostgreSQL database server.
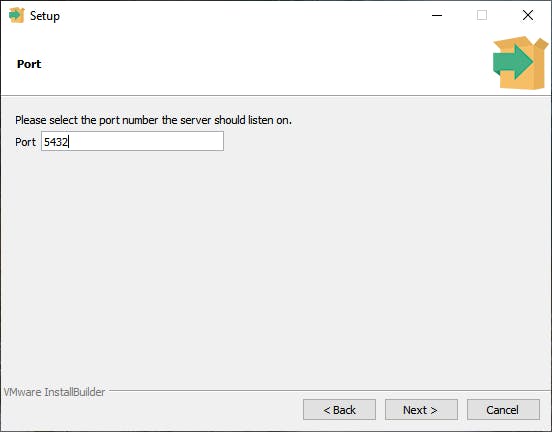
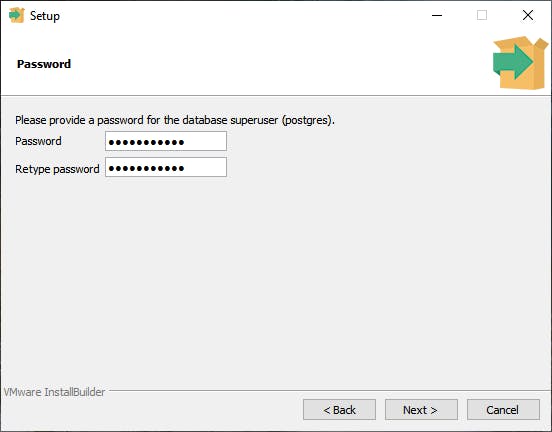 On the Port screen, specify the Port number on which the PostgreSQL server will listen to the incoming connections. By default, the PostgreSQL server listens on port number 5432. You can specify the non-default post on this screen. Make sure any other application must not use the port you specify in the Port textbox, and it must allow the incoming and outgoing connections. In our case, I am not changing the port.
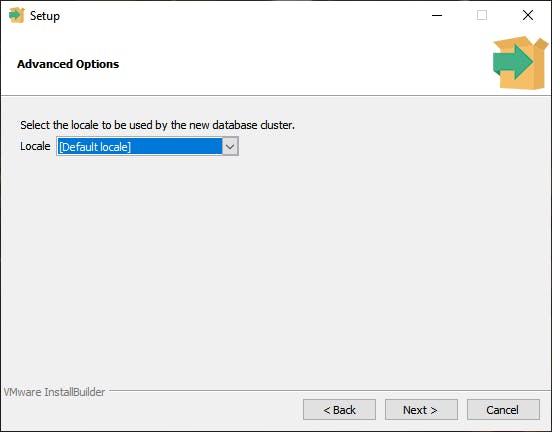
 You can choose the locale that you want to use in the database on the advance option screen. In our case, I am choosing the default locale.
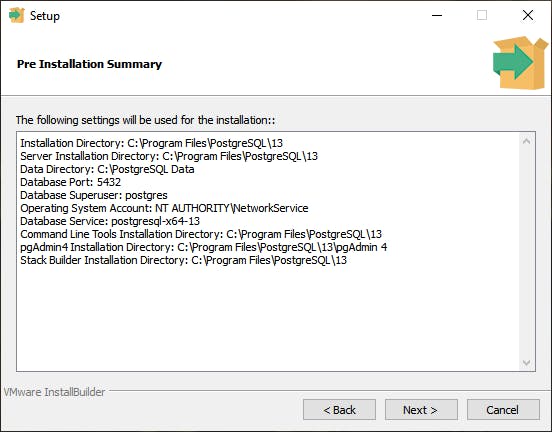
 On the Pre-Installation Summary screen, you can view the settings used for installing the PostgreSQL server.
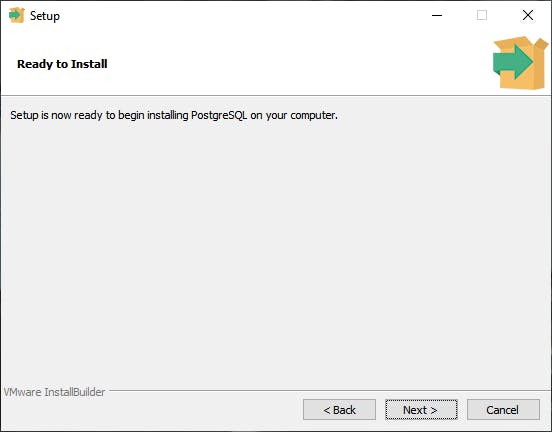
 The Ready to install screen is the notification screen that states that the PostgreSQL installation process will begin.
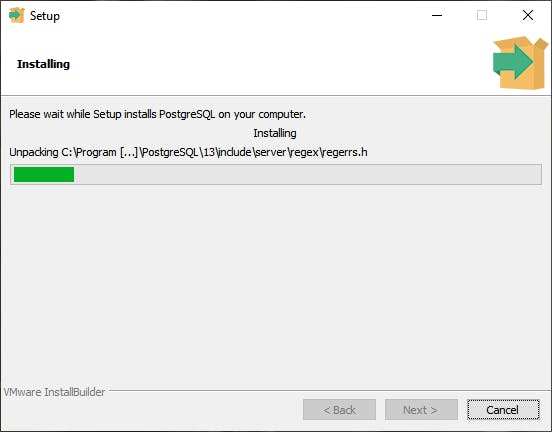
The installation process of PostgreSQL on windows has begun.
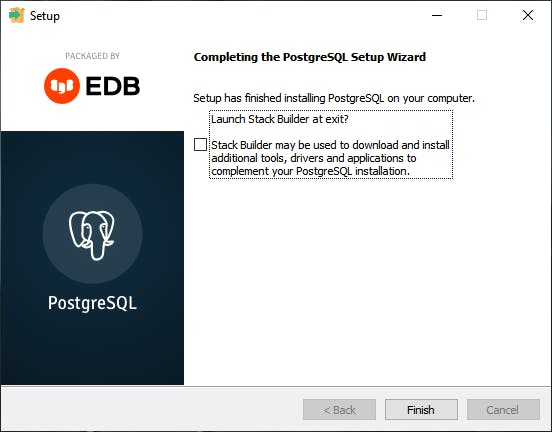
 The PostgreSQL server has been installed successfully. If you want to install additional components and drivers, you can choose to open the stack builder. In our case, I am not installing additional components. Click on Finish to complete the installation.
 Now, reboot the workstation. Let us understand how we can connect to the PostgreSQL server using pgAdmin4 and SQL Shell (pSQL).
